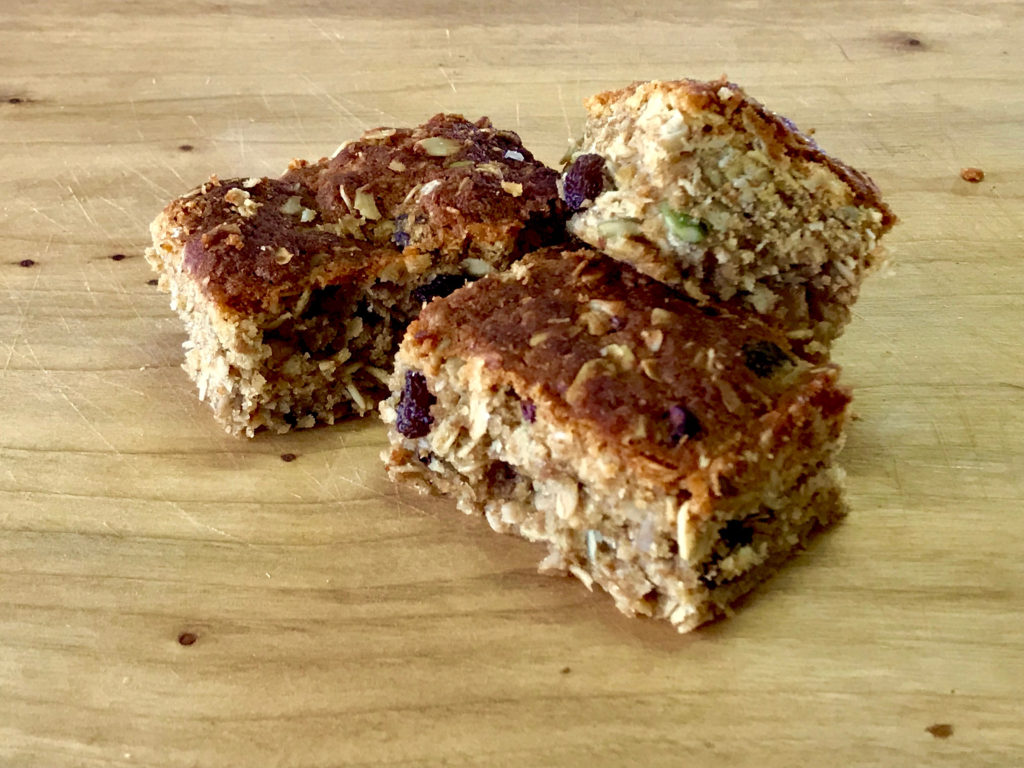
I don’t have a lot of space in the bus, so I like to have a core set of ingredients I can use multiple ways. I recently shared a recipe for my Mum’s Anzac Biscuits Rejigged (ie. refined sugar free and much less sweet than mum’s) and based on the comments I received, they were loved by those who tried them. So I decided to use that recipe and have a play around until it became a suitable slice for the lunchbox. The result is this Anzac Lunchbox Slice. It’s quite a thick filling slice packed with oats and seeds, and a little bit of sweetness. A slice of this would also be great to help fill the gap between school and after school sports training.
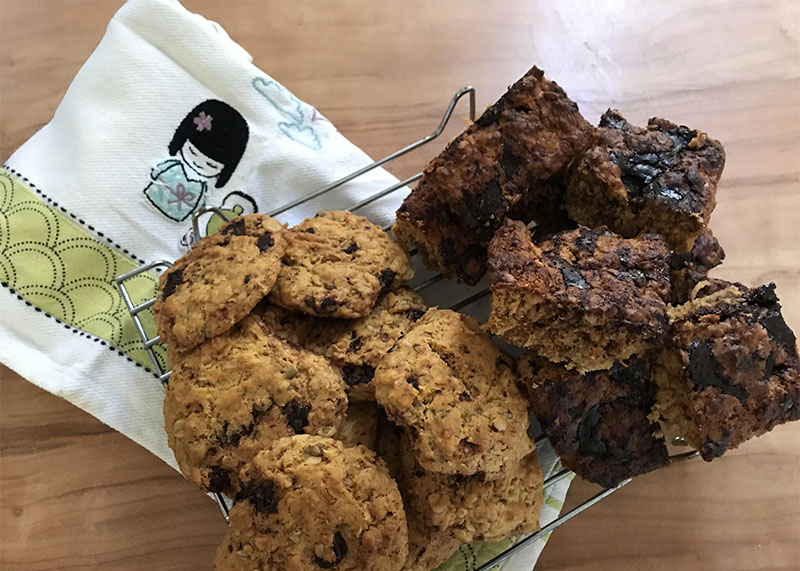
Since making this Anzac Slice, I have played around and created another 2 recipes. Another slice and some biscuits. I have added how to do this to the bottom of this recipe.
Ingredients
- 300g butter
- 1 cup rice malt syrup
- 1 tspn bi-carb soda
- 2 tblspn boiling water
- 2 cups rolled oats (use GF if you wish)
- 2 cups plain flour (use buckwheat for GF)
- 1.5 cups coconut (shredded or desiccated)
- 1/2 cup sultanas, (soaked in water for 5 minutes)
- 1/4 cup sunflower seeds, roughly chopped
- 1/4 cup pepitas, roughly chopped
- 1/4 cup cacao nibs (or good quality chocolate chopped into pieces)
Method
- Pre-heat oven to 160 degrees, and line 2 baking trays
- Mix oats, flour, coconut, sultanas, sunflower seeds, pepitas and cacao nibs in a bowl
- Melt butter and rice malt syrup over medium heat until well mixed, then turn off
- In a separate dish, add the bi-carb soda then mix in the boiling water until combined
- Stir bi-carb mixture into the butter mixture – it will froth up (fun for the kids to watch)
- Add this frothing mixture to the dry ingredients. Stir until all ingredients are wet. Taste if sweet enough for your family. Add more rice syrup if needed.
- Line a lamington tray with baking paper and pour mixture into the tray
- Use your the pad of your fingers or the back of a spoon to firmly push down the mixture, ensuring it has even
- At this stage, I like to score / cut the the mixture into the size slices I want to have. I find I have more success at cutting it at this stage, than trying to cut it after it’s cooked. Cut the slices almost all the way through to the bottom of the mixture
- Bake for 40-50 mins until dark golden brown
- Cool in the pan. Once cool, use a sharp knife to cut the rest of the way down to the bottom of the mixture, then remove the slices out to lamington tray. Place on a wire rack to totally cool.
Freezing / Storing Instructions
Keep in an airtight container. Can also be frozen and popped straight into lunchbox.
Another 2 ways to use this recipe
I made one batch of this mixture but left out the chocolate chips. Then I took about 3/4 cup of mix to make biscuits, then used the rest to make the slice. This way I have what looks like 2 different snack options from the 1 recipe. BOOM! I call that winning.
-
Chocolate Topped Anzac Slice.
Make the recipe the exact same way except sub out the cacao nibs for 90% dark chocolate (I used Lindt 90%). Instead of mixing the chocolate chunks through the mix, I simply pressed the mixture into the pan, then spread the chocolate chunks all over the top. Then I used my fingers to press them gently onto the surface. Because the mix was warm from the melted butter, the chocolate instantly started to melt. Then of course, as it cooks, it melts more. Follow the cooking, cooling and slicing instructions from the Anzac Lunchbox Slice above. Note, I think I took mine out of the oven at about 35 minutes.
-
Anzac Chocolate Chip Biscuits
Taking the 3/4 cup of mixture I left aside, I added the chocolate chunks and gave them a quick stir through the mix. It had cooled a bit by this time. Then I took a soup spoon full of the mixture, rolled them in a ball and placed them on tray lined with baking paper. Flatten slightly with your fingers or with the back of a fork if you want to be fancy. Cook at 180 degrees for about 20 minutes.
And if you have crumbly bits left over from when you cut your slice, just make out that’s supposed to happen. Toast it under the griller and use it as a topping for Natural Greek Yoghurt and fruit for breakfast. Lots of BOOM happening with this recipe!
Just a reminder, you don’t need to be a master chef, or have a big spotless kitchen to make awesome nutritious meals or snacks for your family.
This recipe contains links to our favourite wholefoods pantry store, The Wholefood Collective, who delivers Australia’s most vetted organic and healthy food to members with big savings. Essentially The Wholefood Collective is making affordable organic whole food available for all! We love them. Please do check them out. If you purchase from one of the links from this page, then you get the same great price but the The Wholefood Collective will also send us a small financial thank you – this helps us to continue to keep providing you with loads of free recipes, tips and educational articles. We thank you for supporting us by shopping using these links.


