
This lazy bones no knead bread recipe is so simple. A handful of ingredients, mix and pour into a bread tin – it’s that simple, no kneading required. I wanted it to be so simple that even a primary aged child could make it. After weeks of testing, I think this recipe does the trick.
You may be thinking why would you even bother making your own bread, it’s so simple just to buy it. And yes, you are 100% right – it is so simple to buy it, but do you know many of the breads from the supermarket have:
- lots of ingredients
- been been fortified with vitamins and minerals made in a lab to designed replace the real ones lost in the processing of the wheat,
- preservatives added which can affect learning, attention and cause irritability (specifically look out for 282).
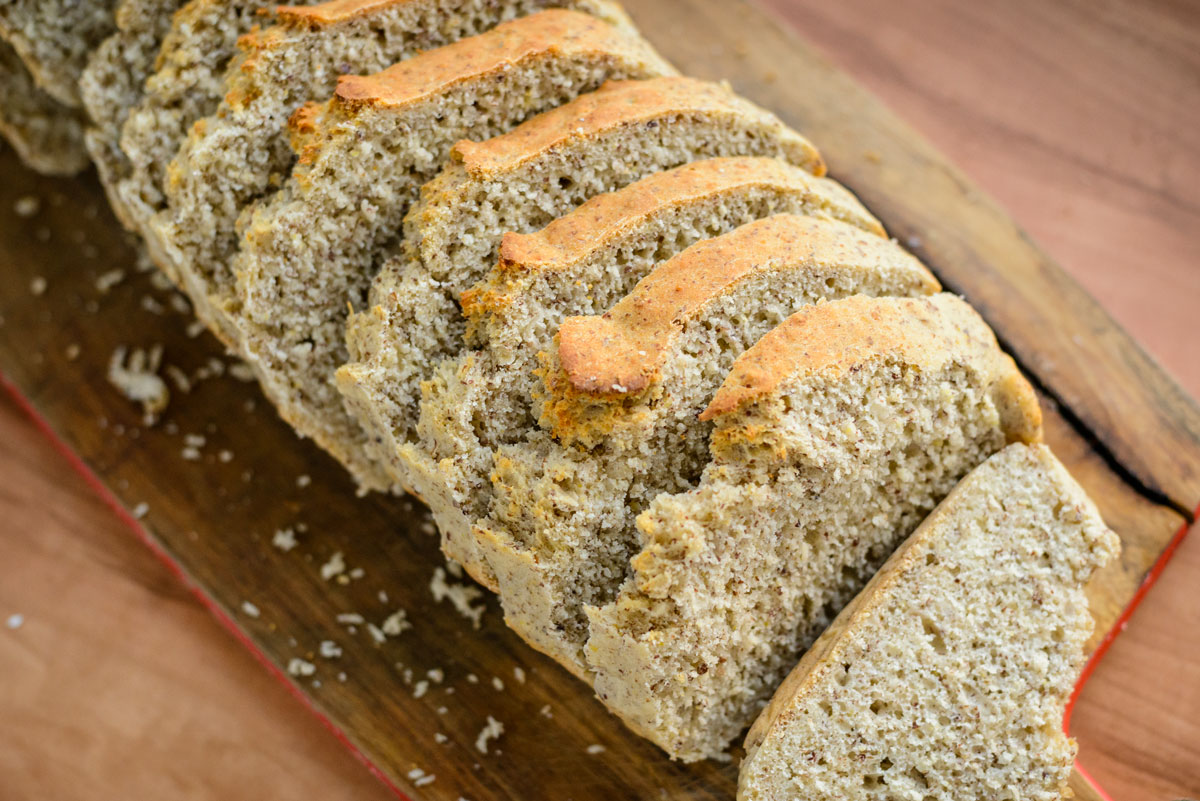
This is kind of madness because you really don’t need more than a handful of ingredients to make bread. With this recipe, you don’t even need a lot of time. There is no kneading and only 1 proving time in this recipe, so the bread doesn’t rise as much as store bought bread. The slices are smaller but more dense than the supermarket bread slices. This is intentional. We want a sandwich which is going to keep tummies full – this lazy bones bread recipe will do that. If your kids are used to eating bread from the supermarket, then I would recommend getting your kids involved in making this bread on the weekend. Research shows getting kids involved in cooking is one way of getting them to try and eat new foods. Then make a sandwich on the weekend using this bread to get them used to it.
As a general rule of thumb, always remember the more white a product is, the further it is from it’s original source and the more processed it is. The result is, it’s less likely to nourish your body than a product that’s been processed less. That’s why in this recipe, I have used wholemeal flour. White flour is heavily processed. I have even tried this recipe with spelt flour and it also works. Now if your family are not quite there with wholemeal flour yet, what I suggest you do, is create a mix of flours. Start with 80% white and 20% wholemeal, and then every time you bake bread, change the mix a bit (eg. next time 70% white, 30% wholemeal, etc).
Ingredients
- 2 tspns of yeast
- 1 tspn golden caster sugar or rice malt syrup
- 2 cups of hot to touch water
- 3 cups wholemeal plain flour (see note above)
- 1/2 tspn sea salt
- 1 tspn olive oil
Method
- Add yeast and sugar to a bowl, mix (if using rice malt syrup, add in step 2)
- Add 1/2 cup hot to touch water (run water from tap until it starts getting hot)
- Stir the yeast, sugar and water
- Allow the yeast to grow for 10 minutes (this will be all frothy at the end of 10 minutes)
- Whilst yeast is doing it’s thing, turn the oven onto 200 degrees and line a bread tin
- In a separate larger mixing bowl, add the plain flour and salt. Stir with a wooden spoon
- When 10 minutes is up, turn oven off and pour frothy yeast mixture onto the flour
- Add in 1 and 1/2 cups of hot to touch water, and the olive oil
- Stir to combine all ingredients in the bowl until it’s totally mixed
- Now pour into the lined bread tin and push dough out into the corners of the bowl
- Smooth over the top so it’s all even
- Pop the bread tin in the hot oven for 25 minutes to rise
- At the end of 25 minutes, turn the oven back on to 180 degrees
- Bake at 180 degrees for 25 minutes
- Test by inserting a skewer into the centre of the bread – if it comes out clean, then its ready (if not, pop it on for another 5 and test again)
- Take bread out of the oven and allow to cool slightly
- When cool, use the baking paper to lift the bread out of the tin and allow to cool for at least 25 minutes on a wire rack
- When totally cool, slice the bread
Feel free to change the flours used in this to other gluten based flours. I haven’t tested with Gluten Free yet.
Storing / Freezing
This bread is preservative free so won’t last as long as supermarket breads. You can either slice what you need for today, and wrap the remainder in a tea towel and pop it in your pantry for tomorrow. You should be able to do this for 2 days. If you wish the bread to last longer, do what I do, and slice it all up. Then put a piece of baking paper in between 2 slices, then wrap in alfoil and place in the freezer. Pull the package of two slices out of the freezer the night before you want to use it and let it defrost in the alfoil. It will be perfect in the morning.
Just a reminder, you don’t need to be a master chef, or have a big spotless kitchen to make awesome nutritious meals or snacks for your family.